

The famous Christmas Village has a long-standing history in my family. My mother, her mother, and her grandmother have all had one placed prominently in their home during the holiday season. They’ve all passed down pieces from generation to generation. In fact, my sisters and I have inherited a few pieces from each generation to begin our own village.
I’ve learned to appreciate them and we’ve received so many compliments on my mom’s Christmas village each year. Enough so to where I would love to teach you all how we make ours.
Contents
Supplies You Need For Your Christmas Village
You will need a couple of things to create your beautiful village. Plus, you’ll have to put in a little elbow grease, but I promise it will be more than worth it. Here is what you will need to get started:
- Hole Saw
- Wood
- Drill
- Multi-outlet extension cord
- Books
- Faux snow
- Snow blanket
- Buffalo Snow
- Miniature Trees
- Village houses & pieces
Creating Your Base
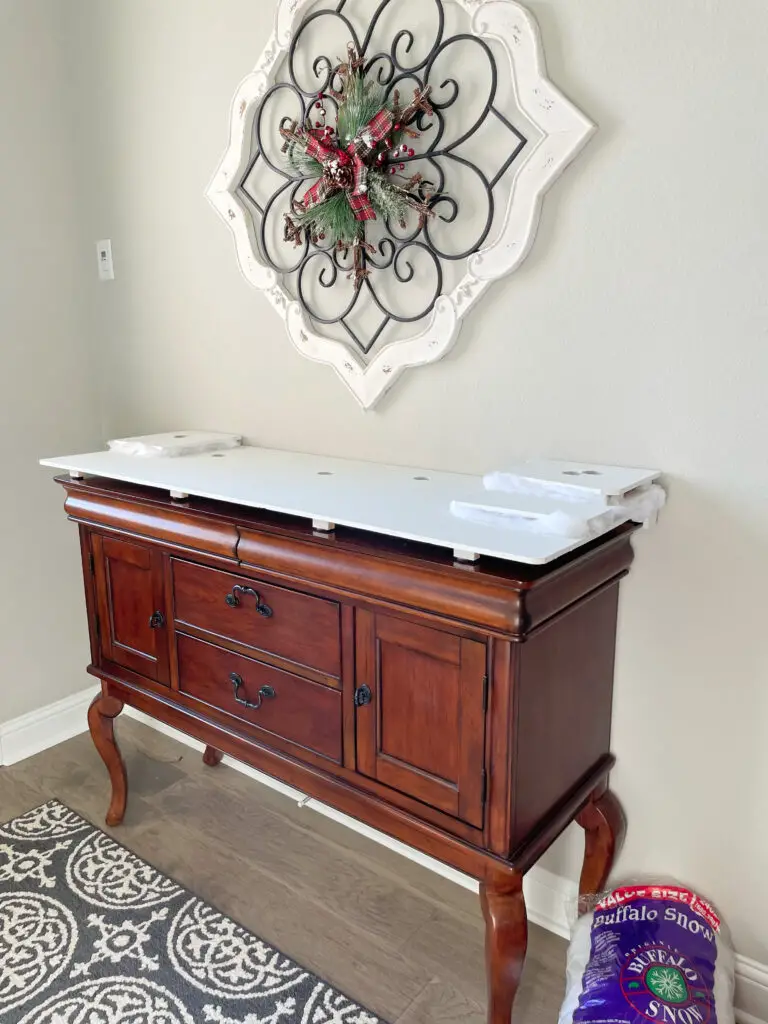
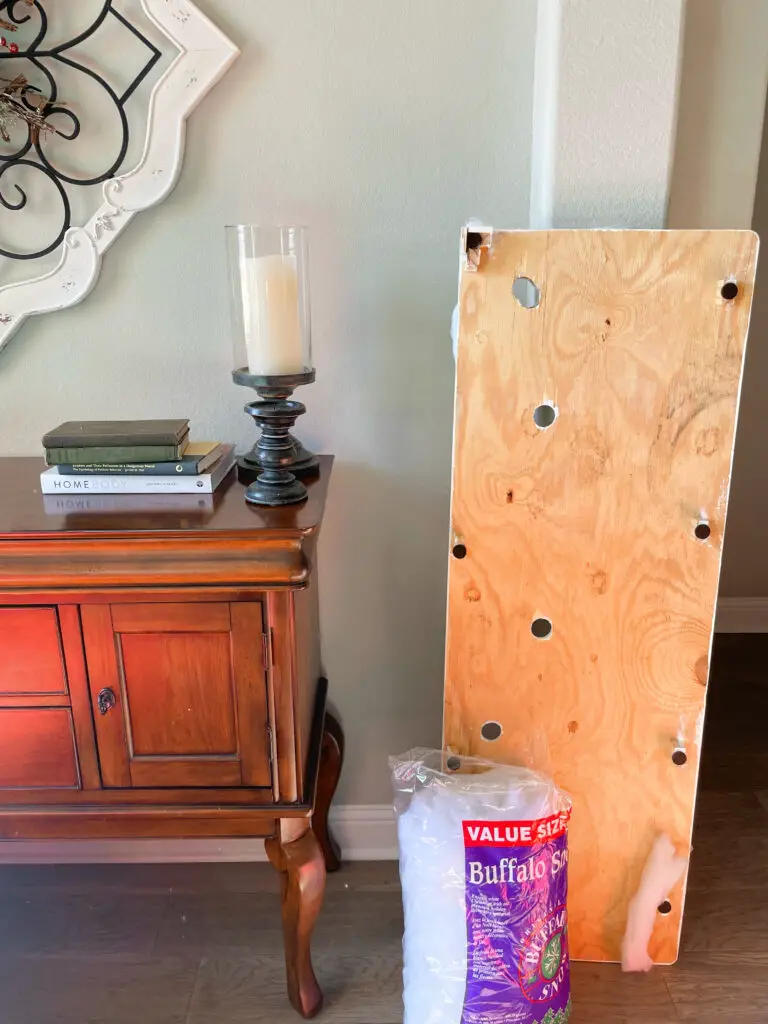
First, start by identifying where you want to put your village. Cut out a piece of wood the same size as that space and lay it down flat. Next, horizontally add a few half-inch boards across the bottom of your freshly cut piece of wood to give room between the board & tabletop (I’ll explain why this is needed later).
Now that you have this laid out, start playing with how you would like to arrange your village on your piece of wood. Once you are satisfied with the arrangement, mark the back of the houses with cords so you can cut a hole for your wires to run through. Yes, this is exactly why you needed the extra space between your tabletop and your board.
After you have marked your pieces that require electricity on the wood, you’re going to want to take your hole saw and cut your holes. You will want each to be about one to two inches in diameter so it gives you some flexibility to adjust your pieces once it’s all put together. After this, we painted ours white, but you definitely don’t need to!
Adding Height
If you’re looking to make your Christmas village a little more visually intriguing and a little less one-dimensional, you’re going to want to add in some height. Now there are actually a couple of ways to do this depending on your setup.
First, if you need to run electricity through it, it’s probably best to replicate the same method as when you created the base. This will allow you to layer in your cords and connect them to your hidden extension cord under the original base. Doing this will eliminate any lumps and bumps that may make your village difficult to decorate.
Second, you can always use books if you don’t need electricity to run to your hill. Grab a few books of various sizes and stack them on top of one another. Depending on how you want your hill to look you can try various heights and combinations of book sizes to get it just right.
Let It Snow
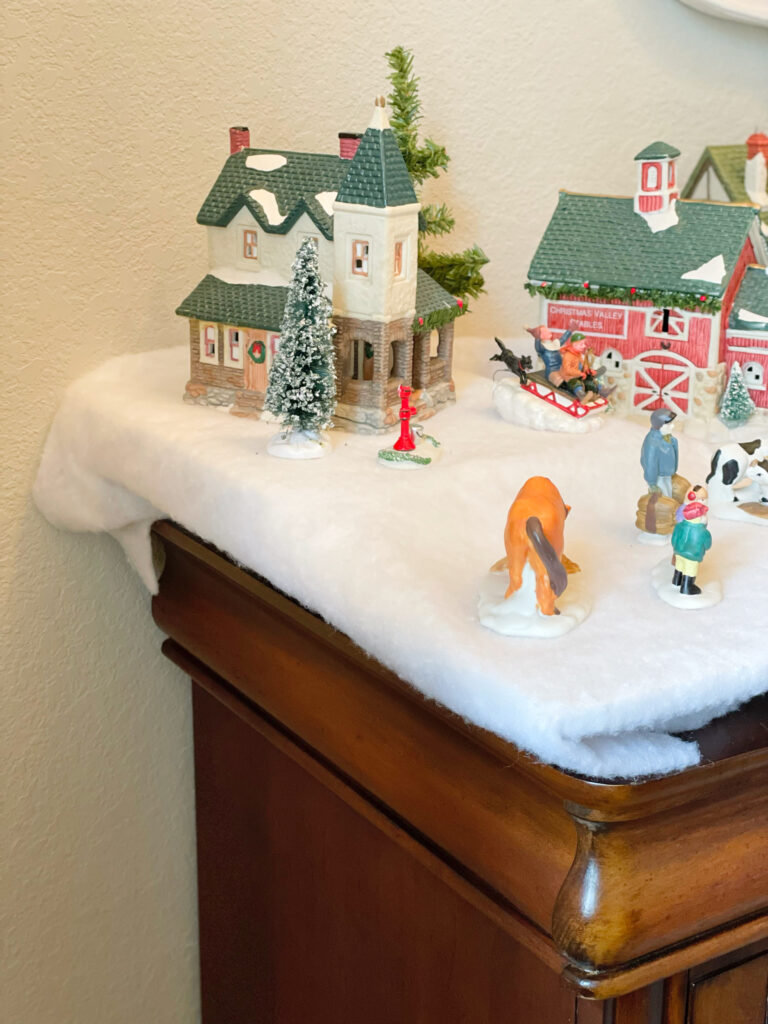
Once you’ve created the landscape you want, it’s time to lay the snow. This is where your snow blanket comes in handy. You’re going to lay that bad boy down over your landscape. After you have draped it how you want, go ahead and trim the excess of the blanket. Make sure you leave enough to tuck under the edge of your board as needed.
You will want to locate your holes and cut a small “x” in the snow blanket to run the cord through. Try to keep these fairly small if possible, but don’t make it too difficult on yourself either by making it challenging to feed the cord through.
Design Your Village
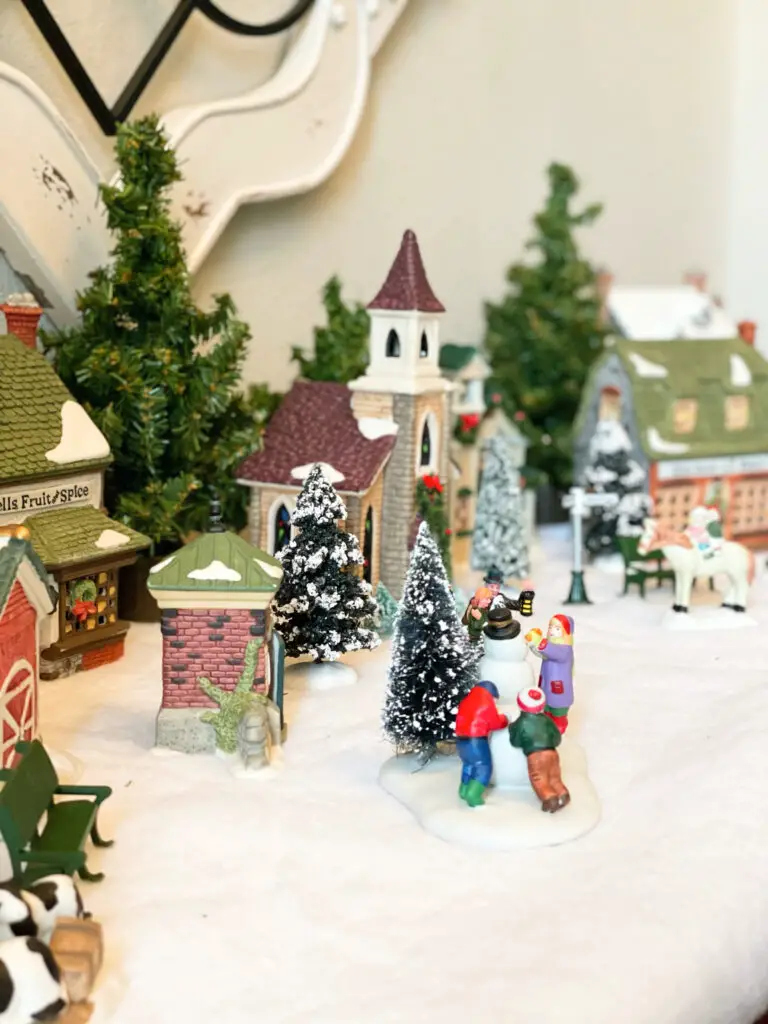
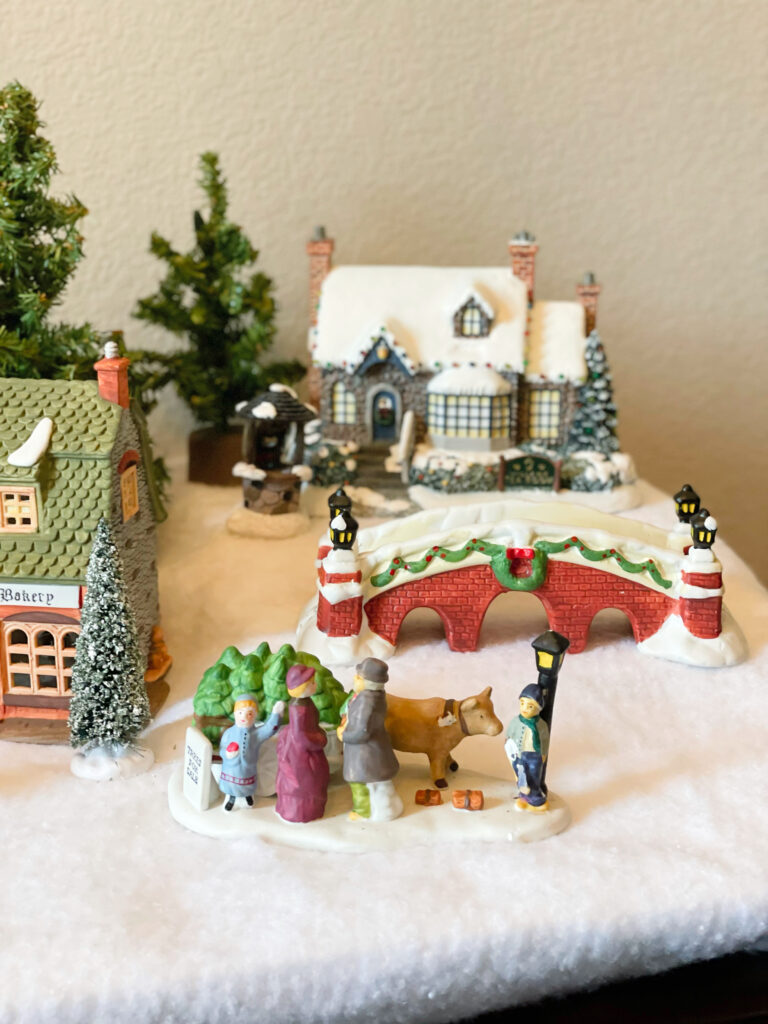
Now for the fun part – designing your village! Start by placing your pieces that require electricity. Run their cords through the holes and connect the to your power cord. Then, I recommend taking your larger village pieces and placing them where you want. Fill in any empty space with your larger trees or other pieces.
Once you have your larger items in place, continue dressing it up with your smaller items such as benches, people, street signs, and more. Do as much or as little as you want. This is really your chance to make it your own. For instance, you can use a small mirror to make a pond or keep it simple and purchase one!
Finish Off Your Christmas Village
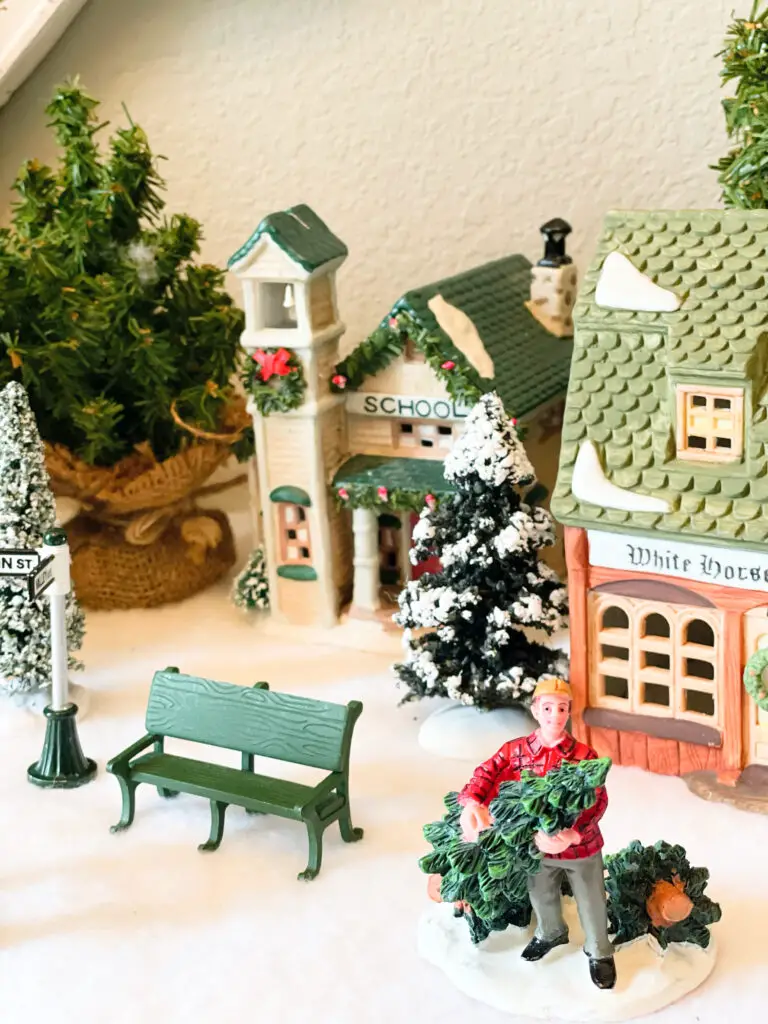
Now that you have your Christmas village arranged how you want it, it’s time to finish it off with a little snow. We love utilizing the buffalo snow for a little texture and volume, but you can also just sprinkle some confetti-like snow on rooftops, benches, or wherever else you see fit. This is the time to fluff and spruce your display to give it that extra flare.
