
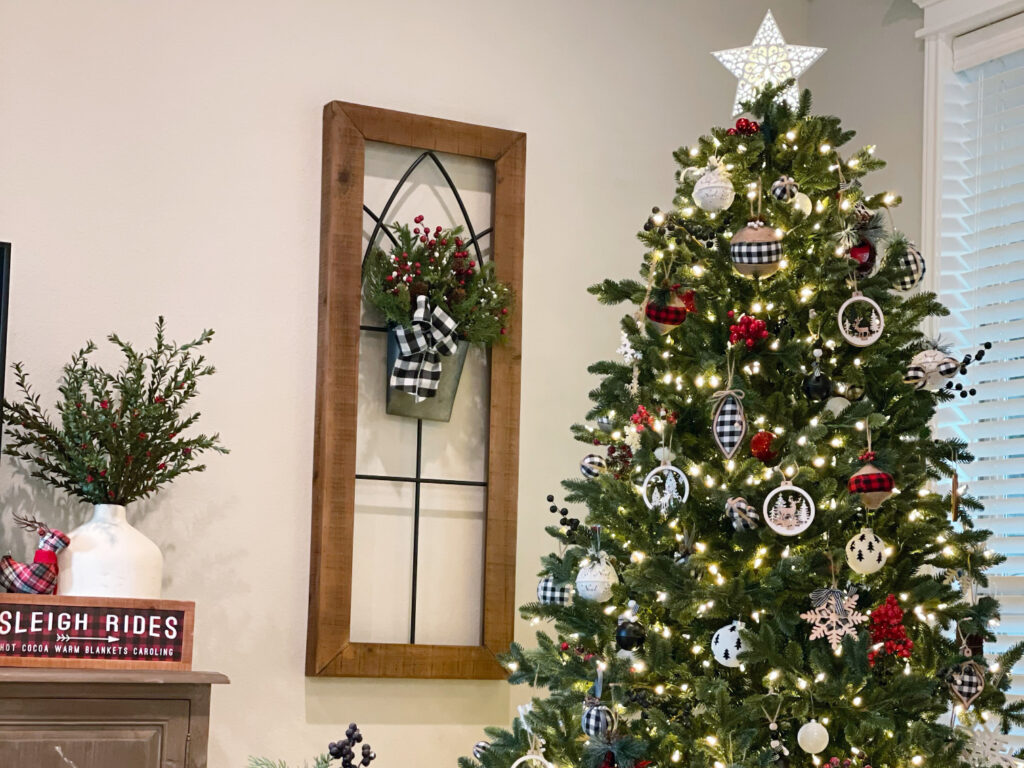
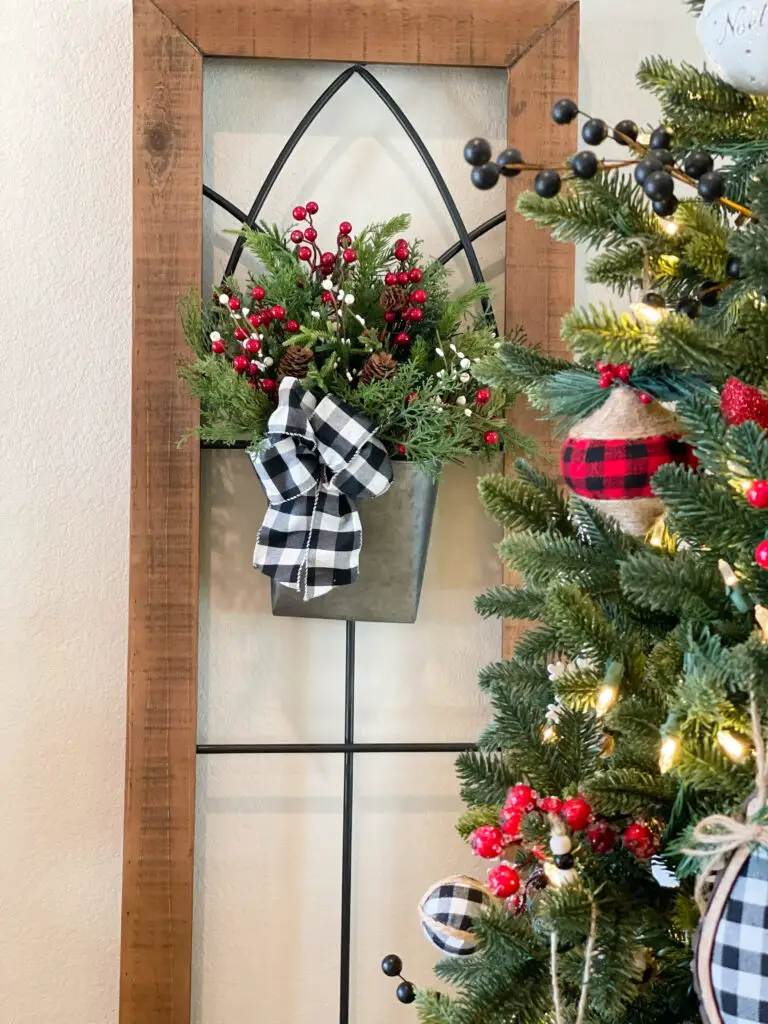
At the Moeller house, some may say we’ve become experts at turning our everyday wall art into Christmas decorations. It’s actually become somewhat of a seasonal hobby for my mom as she’s grown quite fond of giving her wall decorations a touch of seasonal flare. It all started with these large wood & metal wall art pieces on either side of the entertainment center. She bought a year-round wreath for them and then a spring wreath, which quickly led to something for every season & holiday.
We love seasonal wall decorations because they make a big impact without a significant impact on your wallet. Plus, they help elevate your wall decor into something more elevated and personal. The best part is that they are also extremely easy to DIY! Keep reading for a step-by-step guide on dressing up your own wall art to transform your home into a winter wonderland!
Contents
The First Step To Turning Wall Art Into Christmas Decorations: Measuring
I have said it before and I will say it again, if you want a well-curated home, you must measure everything first! In design, size and proportions make a huge difference in your home looking elevated or hodge-podge. When it comes to finding the right piece to add to your wall art, you’re going to want to know what size to look for. Measure the width and height of your wall art so you can decide what size decoration you are looking to buy or make.
I recommend leaving at least one to two inches on either side of your decoration to the edge of the wall art, but that’s my opinion. The height is more so up to your personal preference as long as it falls within the size of the art beneath it.
Next Up, Shopping!
When searching for greenery to add to your wall art, there are several things to consider: quality, price point & durability. If you’re looking for high-quality, you may have to have a higher price point, but if you’re looking to save, the quality might go down a little. I try my best to find pieces in the middle by shopping sales from either Kirkland’s, Pottery Barn, or local decor shops. In my opinion, these are the type of stores I’ve found the best luck at.
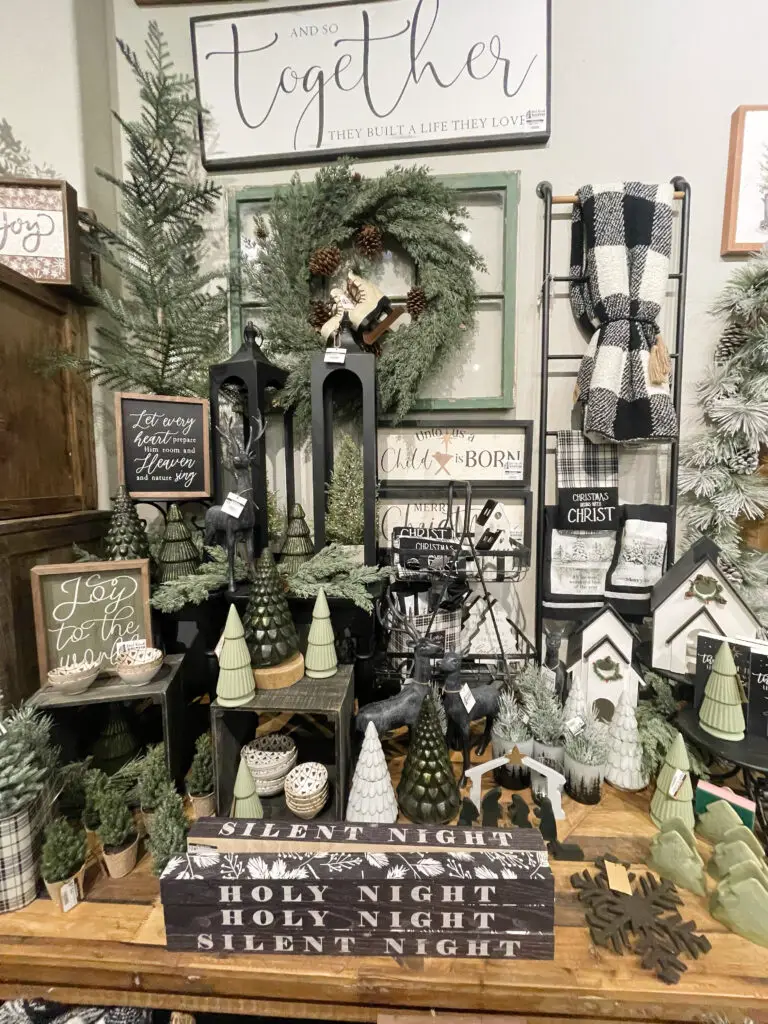
Next, start looking at decorations that fit within your appropriate size. I tend to shop for items like wreaths, buckets of greenery, or large poofs. I typically search for pieces of greenery I love and then work from there as the added decorations are quite replaceable. If I can’t find anything I like, I head to Michael’s and Hobby Lobby to get some fun DIY pieces myself.
Step 3: Sprucing Up Your Greens
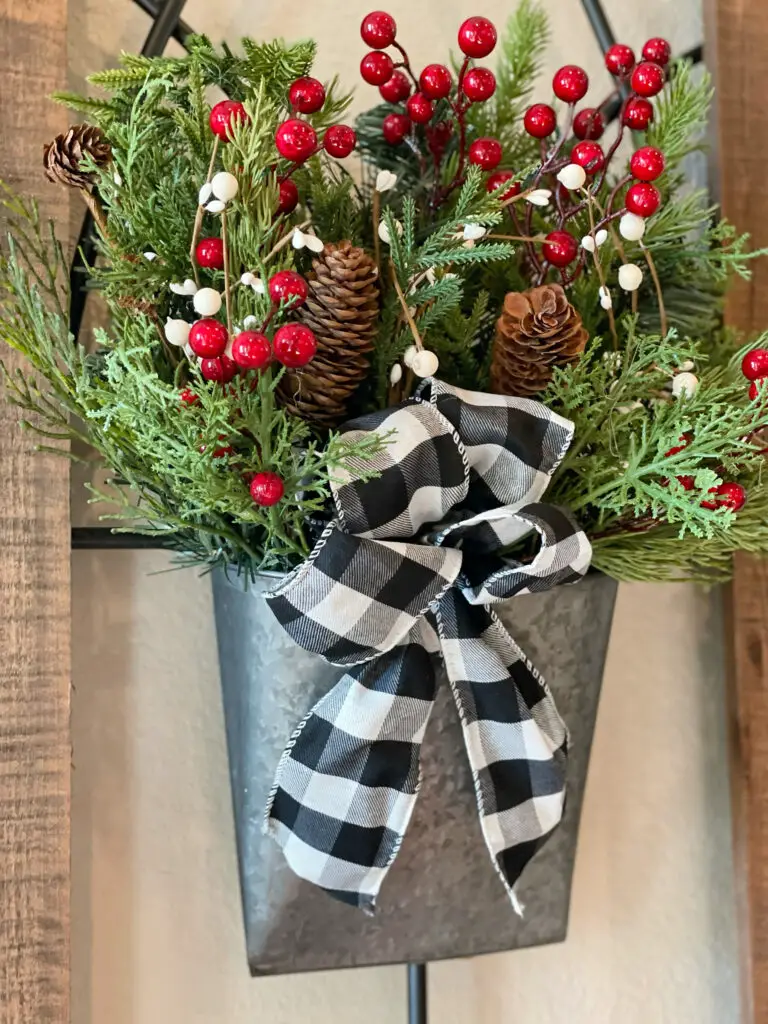
Typically, when I find greens on sale from higher-end stores, they tend to have a little something wrong with them. Perhaps one end has more accessories than the other, or the bow is an odd color, but either way more often than not, the decoration requires a little extra love. Personally, I love that because it means I get to bring out my DIY skills and decorative supplies.
In our Christmas storage tubs, we have several baggies of surplus berries, greenery stems, acorns, pinecones, and more. I’m sure not everyone has the same thing, but many stores carry mixed boxes and bags of similar goodies if you need them! Then I slowly add piece by piece of ribbon or other accents until I’m satisfied with the overall look.
Sometimes your arrangement requires a little more love, so here are a few of my DIY kit necessities that I think you should keep handy:
- floral wire
- floral foam
- wire cutters
- twine
- twist ties
- super glue
Finally, Hanging It Up
Now that you’ve put together your beautiful Christmas decorations or greenery arrangements, it’s time to attach them to your wall art. The important thing here is to be mindful of preserving your wall decoration for when the holiday season is over. If you didn’t care about your wall art I would just say super glue that bad boy up there and be done with it. However, for the sake of your beloved art I have a few alternate solutions that we’ve found through trial and error:
- twist tie your greenery to the metal of your art
- use a floral wire to weave it through your wreath and twist it around your metal
- grab a command strip or hook and plop it right on
- take an over-the-door hanger and hook it to the top of your art
Voila! Now you’ve completed the easiest DIY for transforming your everyday wall art into magical Christmas decorations.
