

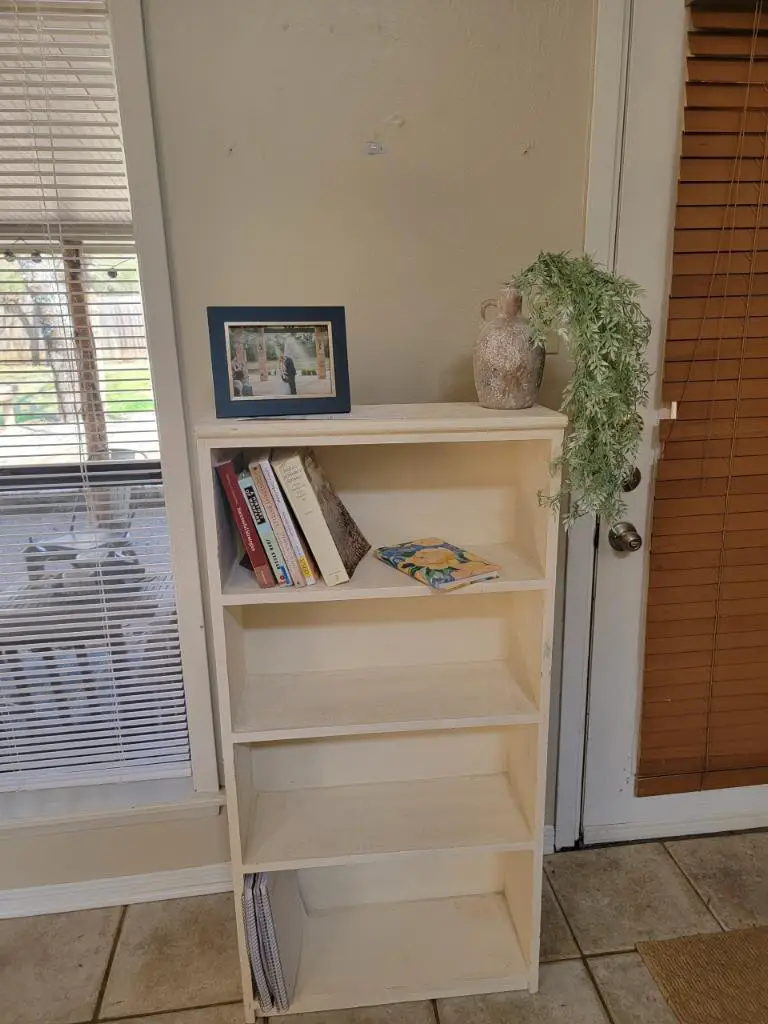
Has the DIY community convinced you to try your hand at refinishing furniture? I’ve been tempted on more than one occasion to try a new stain on our dining room table, but I wanted to experiment with something less expensive and more forgiving first. Fortunately, my sister had an old bookshelf she wanted to update and she was willing to let me test my skills on it.
Since this was our first time refinishing furniture, we needed to do a little bit of research and shopping first. After a few quick Google searches, we realized getting started was going to be a bit more expensive than we thought so we scoured our dad’s garage for a few tools and then Home Depot for the rest. I also highly recommend borrowing tools if you don’t plan to frequently use them.
Contents
Supplies For Refinishing Furniture
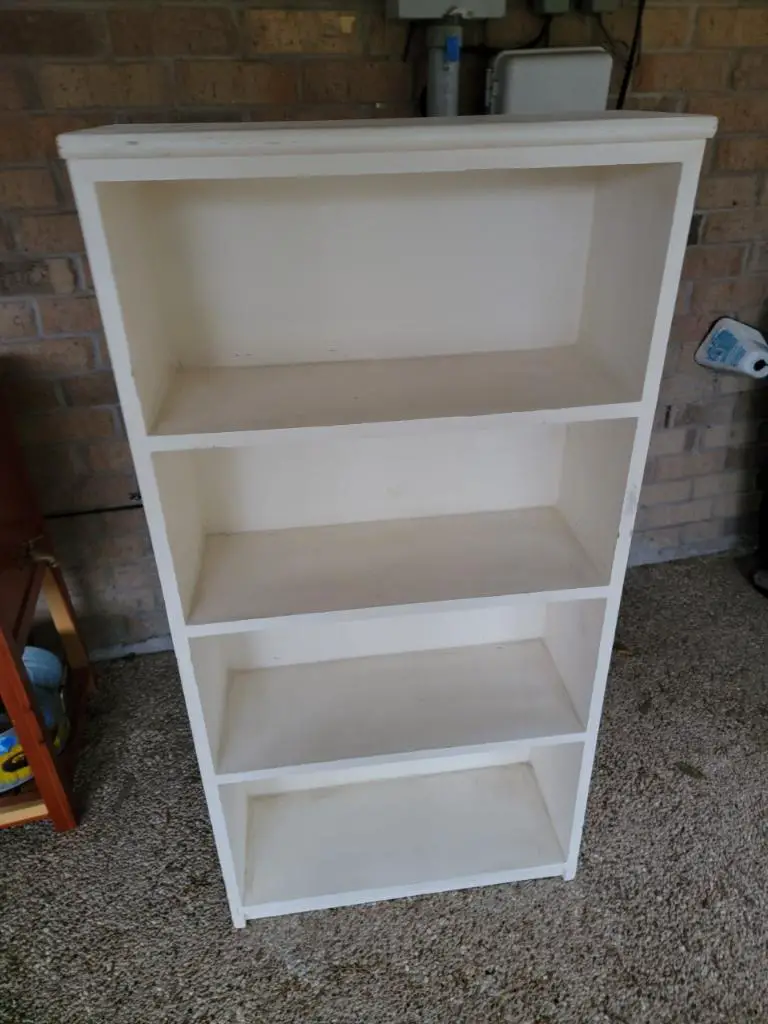
We started with a dingy, white bookshelf that needed a refresh. Our goal was to breathe life back into this old thing with a little color and a lot of love. After some back and forth, we agreed to paint the bookcase blue with a medium wood stain on the shelves. We rounded up all the materials for the project in my sister’s garage which included:
- Paint & wood stain
- Paintbrushes
- Sandpaper & sander
- Wood putty & putty knife
- Paint stripper
- Polyurethane
We started by scrubbing down the furniture to remove any dirt and debris. Our research told us it was best to use dish soap, warm water, and a sponge. While cleaning the case, we also checked for any dents, scratches, or places that may need a little extra touch.
Prepping The Wood
After the bookshelf dried, we sprayed paint stripper on the case and let that sit for a bit while it worked its magic. Then we took a putty knife and scraped some of the paint off. Unfortunately for us, we didn’t let the stripper set long enough so it didn’t work as well as we’d hoped.
My advice is to take the project outside and sand it down a bit first. The sun and sanding will help to speed up the paint stripping process. This way you won’t lose patience as we did and try to scrape too early. Lucky for us the previous paint wasn’t too thick so our impatience didn’t cause too much of an issue.
Sanding The Wood
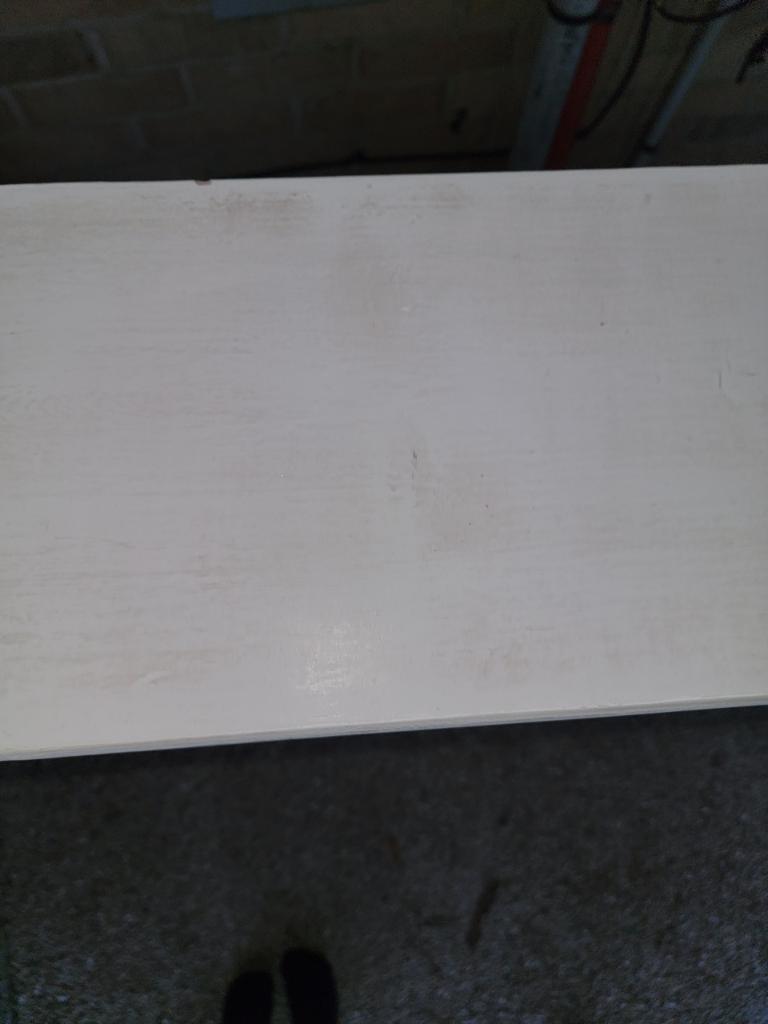
Sanding off the old paint probably took the longest and may have been the most challenging part. Due to our impatience with the stripper (please don’t make the same mistake we did), we had to do a little extra sanding. We started with low grit sandpaper on the electric sander to remove the old paint and help eliminate a few of the smaller dings and scratches. This took us a few hours and even had us rethinking the project altogether.
Once the natural wood underneath started poking through, we knew we were finally making progress! With new hope and a second wind, we switched over to high-grit sandpaper to clean everything up. After completing each round of sounding we wiped the area down with a wet rag. After most of the sanding was complete, we finished a few tricky areas by hand and did our final wipe down.
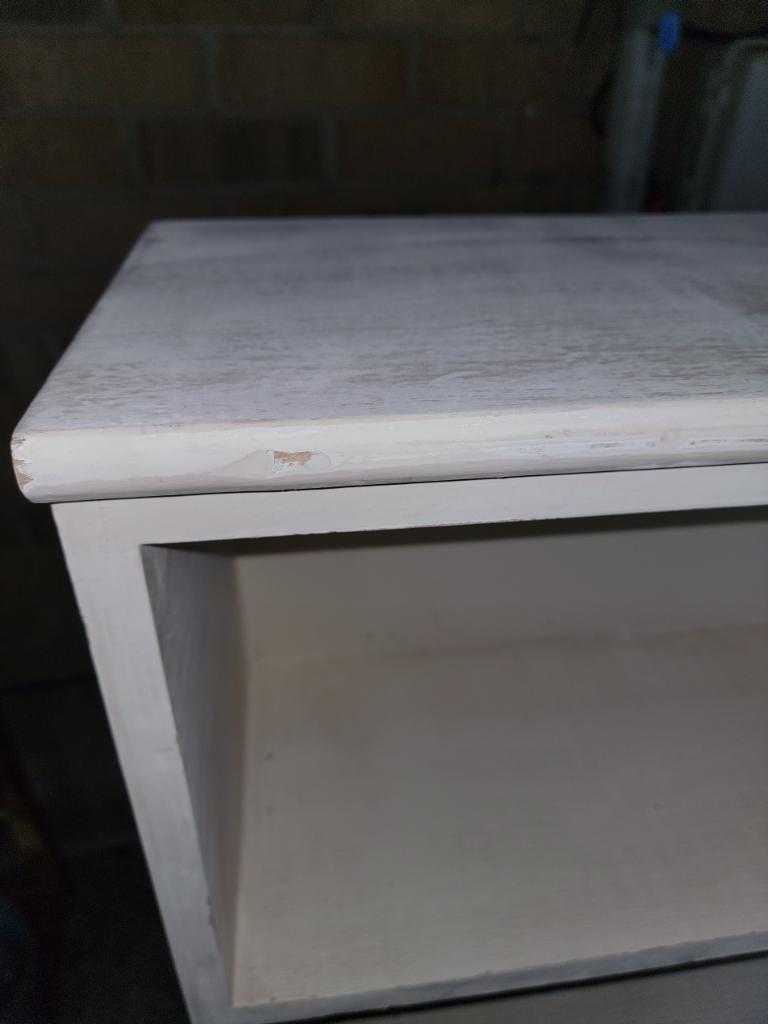
Filling In The Holes
As I mentioned before, during cleaning we also identified big nicks in the wood. The goal was for the new piece to have a clean look, so we decided to fill in any big scrapes or dents with wood putty. We used a stiff paintbrush to apply a hefty amount of filler to the area and brushed it over the scratch. Then we gently drug the putty knife at an angle along the wood to remove the excess and leave a smooth surface.
Once the putty set in, we went back over the puttied parts with the electric sander. Again, we used the high-grit sandpaper to ensure we didn’t sand things down too much. After wiping everything down one final time to ensure no little dust particles were left behind, we moved on to the next step.
Prime & Paint
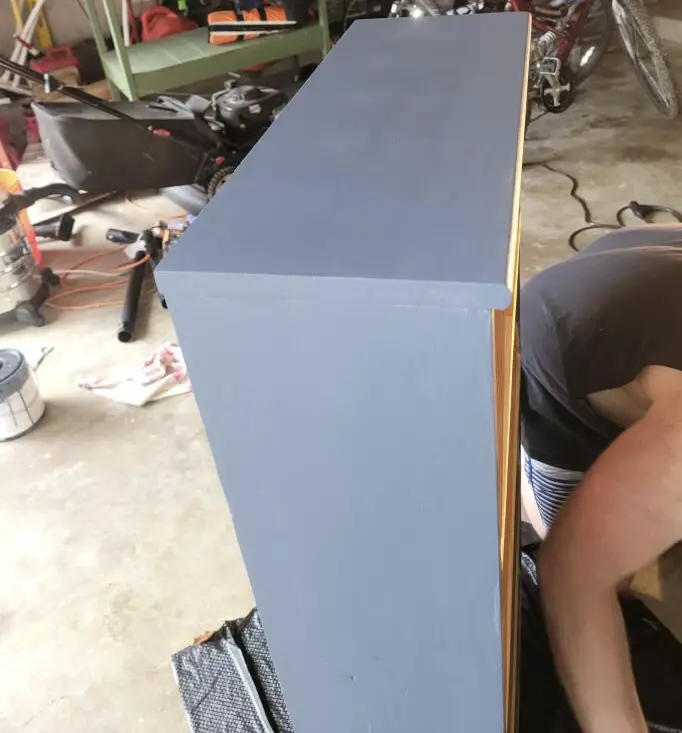
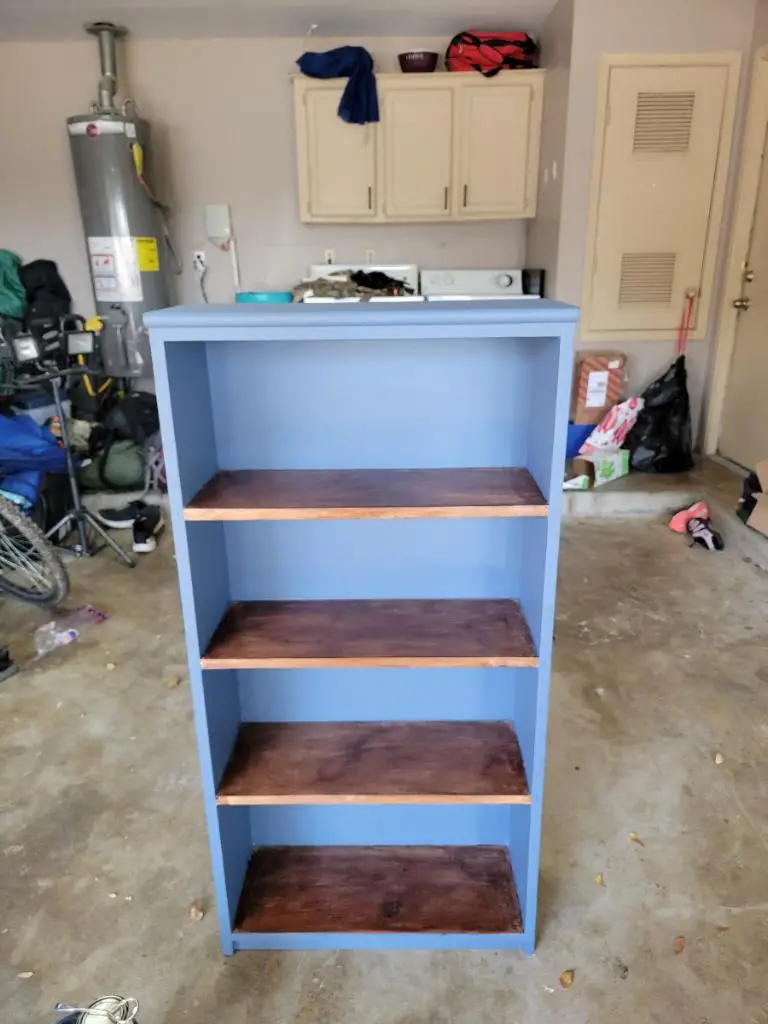
After what felt like hours of priming and painting, we finally started the painting process. We began with a grey primer since we were using a darker color, however, there are various primers to use depending on your paint or stain. If you’re staining wood, opt for a sanding sealer to help ensure the wood absorbs the stain evenly. If you’re painting the wood a lighter color, stick with a white primer to avoid any dark tinting.
A few misplaced paint strokes caused us to rethink freehanding and we decided to tape off the inner shelves which we planned to stain instead of paint. This helped the priming go a lot quicker and we got on the first coat of blue paint fairly quickly after that. The thick blue paint probably could have worked with one coat, but the second layer made a world of difference! Finally, we removed the tape and used gentle paint strokes to apply the medium stain color to the shelves.
Touch Up Time
We left the bookshelf alone to dry and checked in throughout the day. As it dried, we noticed a few places that needed some touching up so we applied a splash of paint or stain here and there. One thing we noticed was that the stain took differently to certain areas of the wood since we skipped the sanding sealer. Next time we agreed to test out the sealer, but for this project, we didn’t mind the added “character.”
The stain looked significantly darker than what we anticipated and I was a bit nervous since we were a little heavy-handed with the stain that it may turn out darker than initially planned. Fortunately the longer it dried, the lighter it became. Plus, the darker stain complemented the rich blue casing.
Ready, Set, Style.
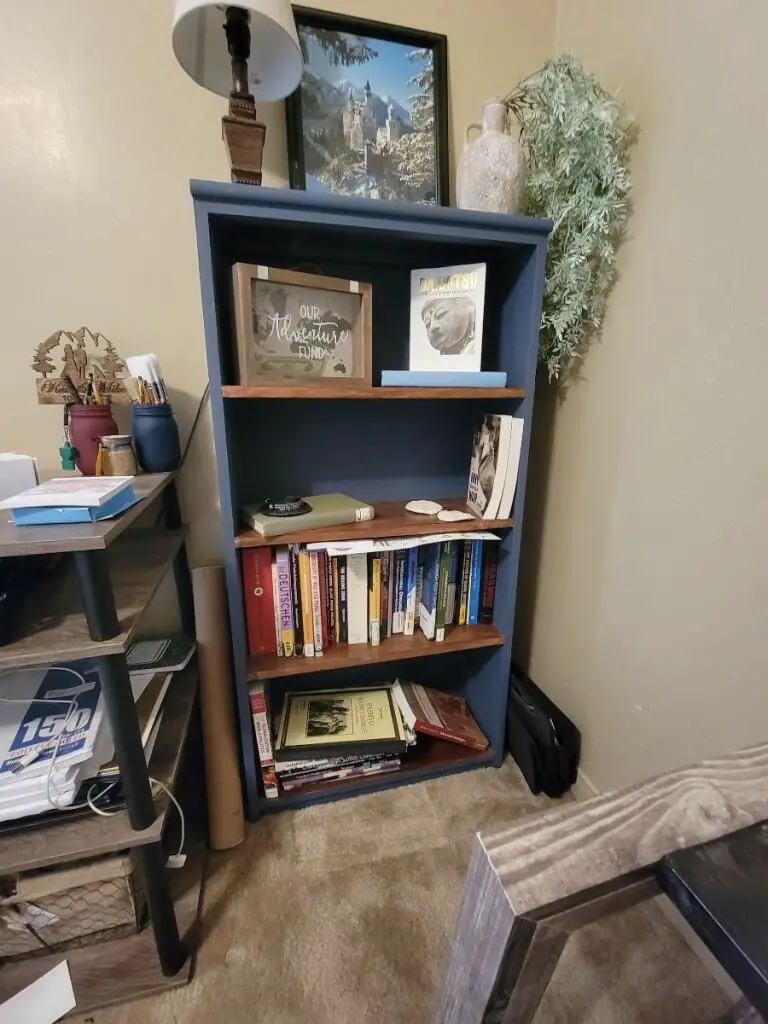
Although I was ready to fill the bookcase with pure decor, my sister pointed out that she needed the storage space for books. We came to a happy medium lining the lower shelves with books and filling the upper ones with a few meaningful books and decorative pieces.
The bottom shelf still needs a bookend and the upper shelves still need some sprucing up, but overall I love how it turned out! Tell me what you think about refinishing furniture in the comments below. Plus, let me know if you have a project in mind you’d love to know more about!
