
If you are like us, then you love a good book. Coffee table books, fiction, non-fiction, paperback, collectible original hardcovers, cookbooks. You name it, we own it. We use them, we look at them and we refer back to them time and time again.
And they don’t get old. Ever.
Contents
How We Decided On A Book Table DIY Project
Books are a foundation in our home for so many reasons. Since moving into our farmhouse and working hard to modernize it, we’ve come to embrace books added into our everyday décor more and more. On a coffee table, as a decoration on a nightstand, or on a bookshelf, they are all around our home and displayed proudly.
They are also always in constant use.
They create great conversation, inspiration and give our home a personality. Whether reading the title, looking at the pictures (if included), or reading the entire book, we love to have books hanging around. Not only for us to see, but for our guests as well. It gives others a little insight into who we are as individuals and as a family.
Once our children started to collect books as well, we ran out of places to store them! We shared in a previous post “Decorative Book Storage Ideas” because, naturally, we had to get creative when it came to book storage ideas. After being inspired by a blogger, we decided to DIY a book table. We thought this would be a place for the paperback or childhood books that are constantly in use.
Easy for our kids to reach, a pretty way of displaying them, and adds to the room the book table lives. A win for all! We loved the book table inspiration so much that we basically copied the design. However, since building our book table we have come across other designs and ideas that would have been just as fun!
Finding Inspiration for A The Table Design
Think about where the table will essentially live. Once a room & area has been decided, choose a size for the actual table that you think will work best in that space. Consider how many books you plan to store, and the size of books (are they tall or wide books?) and try and group them together by size. This will allow you to determine how big of a table you would like in the end.
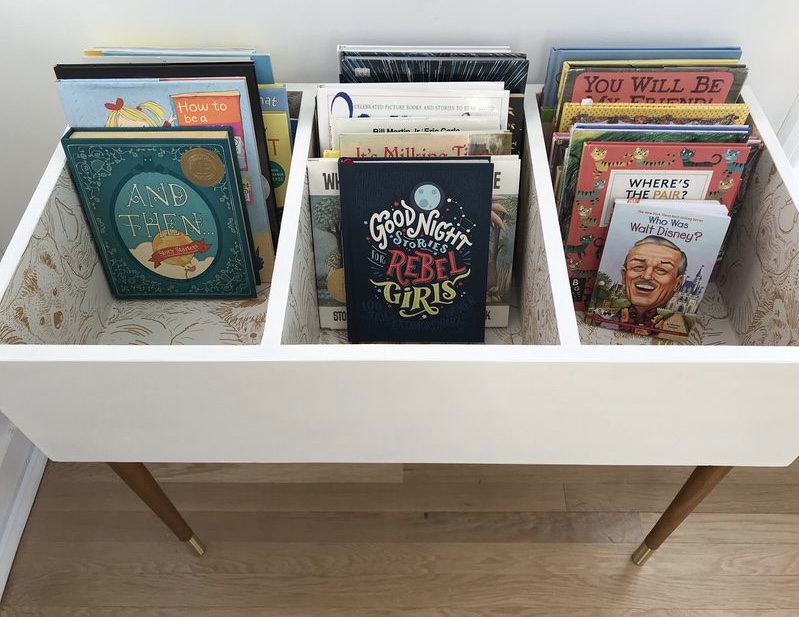
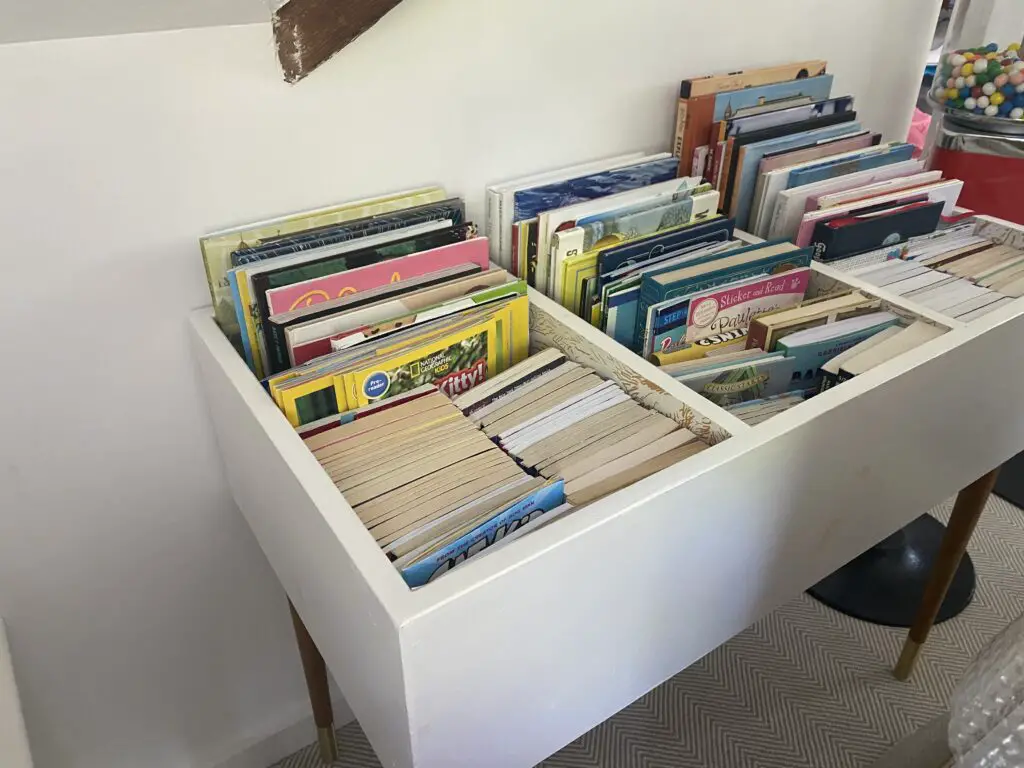
We went with uniform size sections within the book table, but you could create one for wider books, etc. We’ve included pics of our book table to help you with ideas.
Painted vs. natural wood? Tall, skinny legs vs. low, stumpy legs? Much to consider so try to think the whole table through before starting the construction.

Here’s how we went about DIYing our book table…
Book Table DIY “How To”
Once we grounded our inspiration and decided on the specifications of our book table, we were off to the races. Here’s a simple breakdown that we hope can get you started…
- Create your overall measure for the book table. How many sections will you have? How deep will it be?
- You can construct the box using plywood, MDF, or wide boards. We constructed our table using wide pipe boards for the sides and plywood for the bottom. If you choose to use plywood you can cut thin strips of wood or use an iron-on wood banding to hide the edges.
We created our perimeter boards using 1×10 boards creating a finished height of 9/14 inches. We built the sides around the bottom piece of ¾ plywood hiding the edges of the plywood. Our box measures 18” long by 36” wide. We decided on 3 sections for books with an inside diameter of 11” which fit most of the books we planned to store. We crafted the sections by trimming the 1×10 by ¾” to account for the depth of the plywood bottom. We fastened the boards using glue and finish nails with a nail gun. Since we were painting the box we knew we could putty the small nail holes to avoid them showing through the paint.
- Once the box was built we patched and sanded any imperfections and prepped it for painting. We decide to spray it to get a more uniform finish using Benjamin Moore primer and a finishing paint with a satin finish.
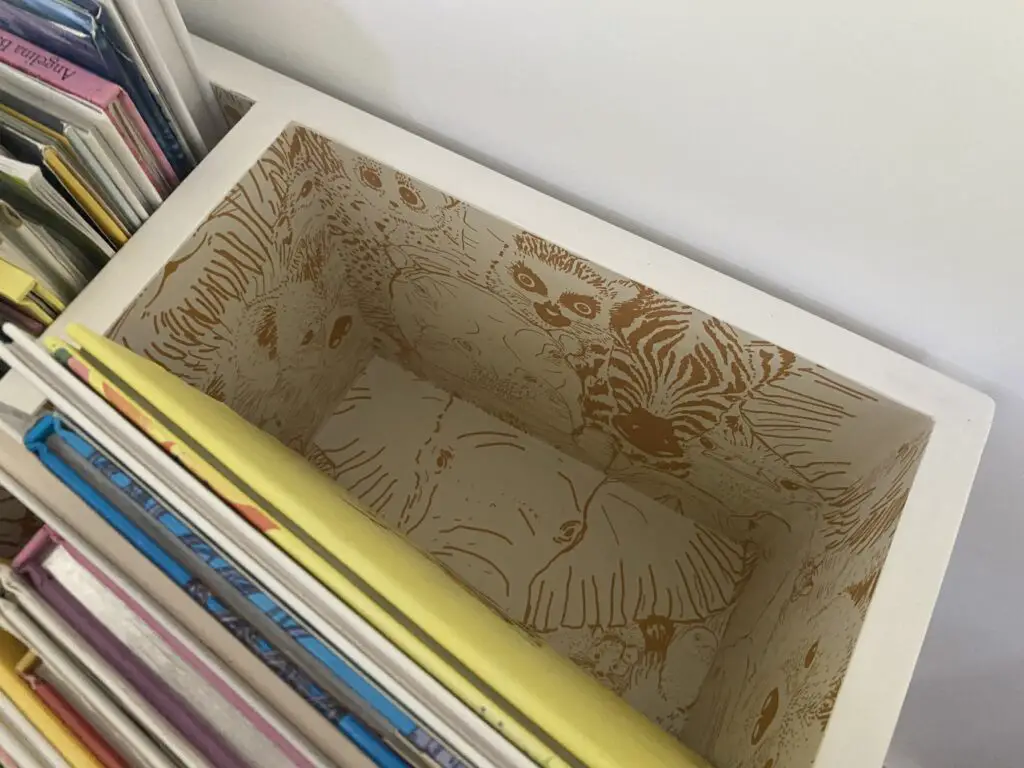
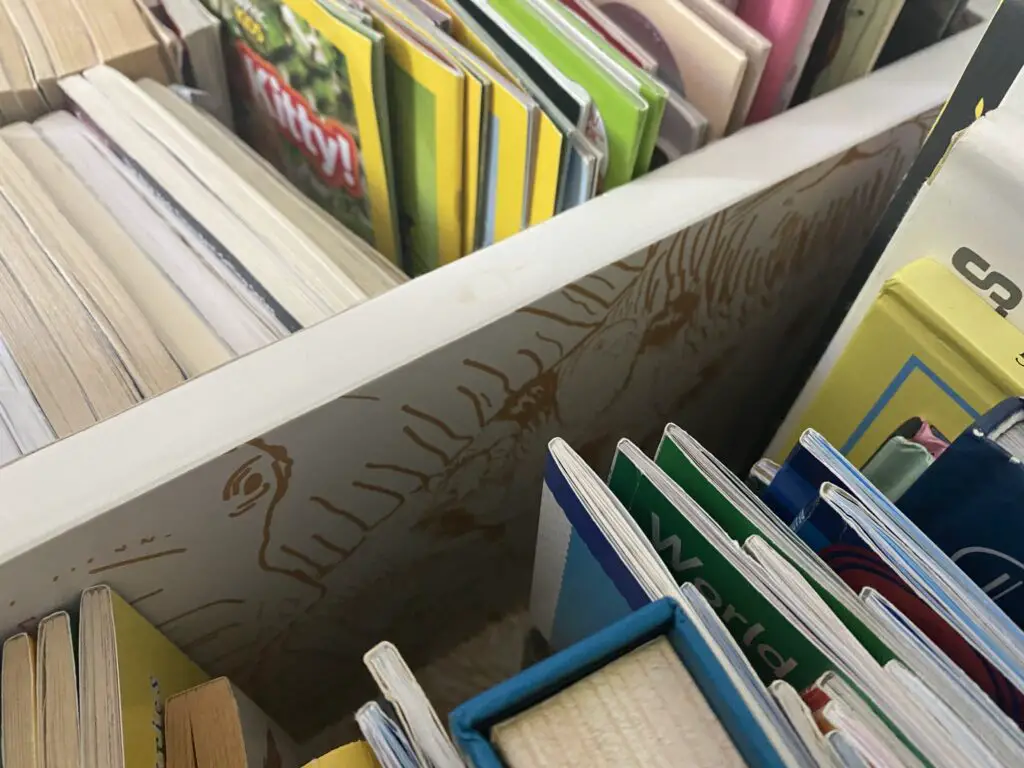
- After it was complete we carefully lined the insides with wallpaper. This took time and patience, especially since the wallpaper was an investment (although only a small amount was needed), and cutting it to fit made it stressful.
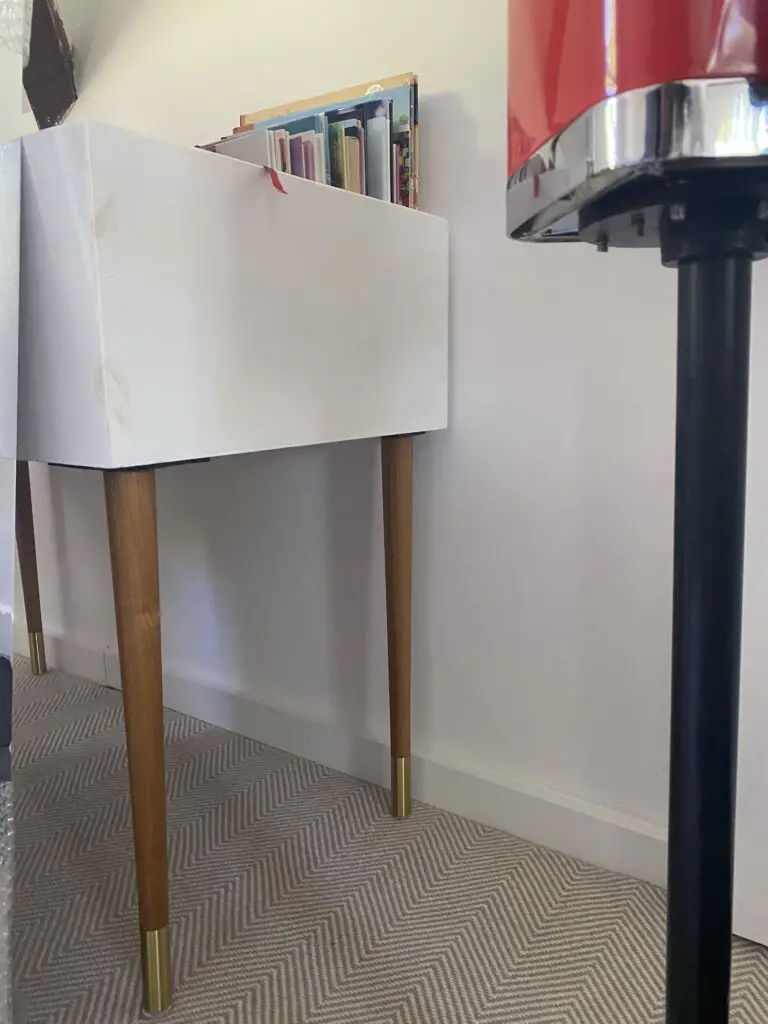
- The last step was to attach the legs. We bought ours off of a website that makes different furniture legs for Ikea furniture, but you can make them or find other options in a lot of places.
Now that our children are growing up and growing out of many of the books that live in our book table we are reconfiguring spaces. Yet, we found a new place for our book table to live and we anticipate it being a part of our family for quite some time. We cannot part with our beloved (homemade/handmade!) book table, so we have decided to incorporate it into our “bonus room” décor.
