

For some people, hanging art on their walls produces the type of anxiety that should be reserved for first dates and dentist appointments. I say “for some people” lightly because it used to be the case for me too! In fact, — to my husband’s chagrin — I still haven’t hung any art in our hallway.
Dinging up walls with nails and screws can be the first source of our nervousness around hanging art. “What if it doesn’t look good there!?” is the lament, or “What if I screw up and pound 10 holes in my wall and still haven’t hung the picture up!?”
I get it. I’ve been there.
But, over the past few decades, I’ve become an actual pro at hanging art. Hopefully, some of the tips and tricks I share below will lessen your anxiety (and the number of holes in your walls) too.
Contents
Hanging Art is an Art
Although hanging art is…well, sort of an “art” in itself, it can and should be fun, not stressful.
My favorite part is deciding which art gets hung. Let’s see if we can make this part fun for you too. Read on.
What to Hang?
Photos of the kids? A collage? A big painting purchased at a gallery one summer’s afternoon!? What should I hang!?
Most designers suggest taking all of your artwork (including the framed photos) you might want to hang and dividing them into categories. The first category includes the pieces you adore and want to see on your walls. The second category can be filler pieces. The final category consists of the things you should consider selling or giving away.
Where to Hang It?
Now that you’ve sorted out what you want to hang, you’re at one of the more challenging (and often anxiety-producing) steps in the process: “Where do I hang this, that, and that other one?”
Here are a few tips and tricks for where things should go:
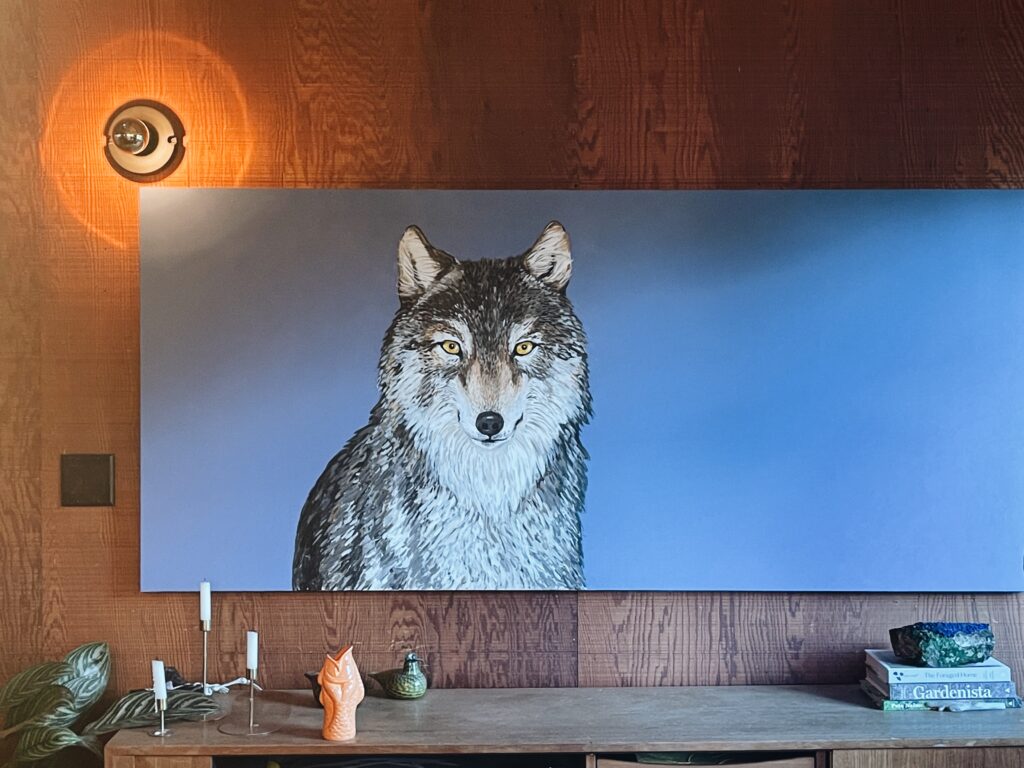
–One large piece of art can work as a statement piece in a room. And the best place to hang your statement piece? On the priority wall. Every room has one! Walk around each room in your house and determine which walls are just calling out for a big beautiful piece.
-A problem I used to run into was hanging random bits of artwork on any empty wall in the house. Resist this urge. A few bare walls are lovely and help bring attention to the walls where your best art pieces and collages are.
-Remember to refrain from hanging art under glass across from a window! It will constantly reflect whatever is outside, and you won’t see what the actual framed piece of art is. Consider taking it to a framer and having non-reflective glass put in. Or hang something without glass like macrame.
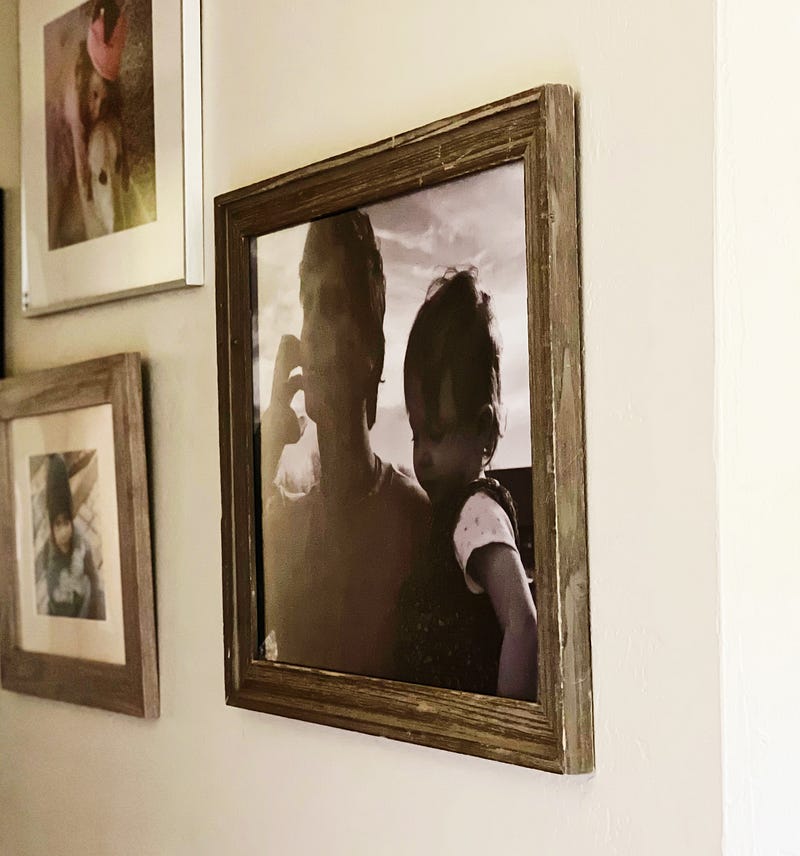
-Although designers also advise keeping family photos separate from other artwork collages, I love a cornucopia of art and photographs as long as they hit the same theme. Sometimes a wall of ski art plus a few photos of your kids skiing along with maybe your third grader’s drawing of a ski lift can be fun and interesting. You can also create a themed collage using similar frames (perhaps all gold-toned?)
-Albeit ceiling height does matter a little bit, you almost always should hang your art so that the piece’s center (not the top!) is 57–60 inches from the floor. At this perfect height, the average adult can look at the work of art without tilting their head up.

How to Hang It
So, you have a few rough ideas as to where you want all this artwork to go. Before committing to holes in the wall, try to lean your piece up or have someone hold it in the area where you want it to hang.
A little trick that works well once you figure out where your piece will hang is to turn it over and stick a long piece of masking tape across the holes or picture hangers on the back of the frame. (This only works for pieces with indentions or picture hangers on the back, not for framed art that hangs from a wire or only one nail/screw.) Now, mark the holes on the masking tape and then lay the masking tape across the wall at the appropriate height (as mentioned above). Use the markings on your tape as the spots to hammer your nail or screw in your screw. It works every time! Once you’ve placed your nail or screw, pull the tape off the wall. This trick even works well if you’re hanging a collage — do the same for each piece that needs two holes, aiming to keep about 1.5 inches of space around each collage piece. (If these directions are a little confusing, click here to watch a quick video on how to hang your art using this trick.)
Got any tips on hanging art? Please share it with us in the comments.
