Heating can be a tricky beast. The house needs it, but sometimes it is a thorn in our décor side. From baseboard heating to forced air to steam heat, every option available has its plus and minuses. When purchasing our 1890 farmhouse, we inherited steam heat. This comes along with big, bulky radiators in every room. We love the heating itself, don’t get me wrong. Our rooms stay cozy in the winter and it doesn’t make our eyes burn or our skin itch. The down side is that when they aren’t pumping out their steam it can get chilly and old houses tend to hang on to a chill. But, then, the radiators start their little engines and our room/house warms itself up again. One thing we don’t love – the knocking noise. However, I will say that once we got used to the clunking/knocking/clicking noises we became accustomed. Also, staying on top of the radiator maintenance can also make a world of difference when it comes to keeping the creepy noises at bay (the movie Home Alone anyone?!).
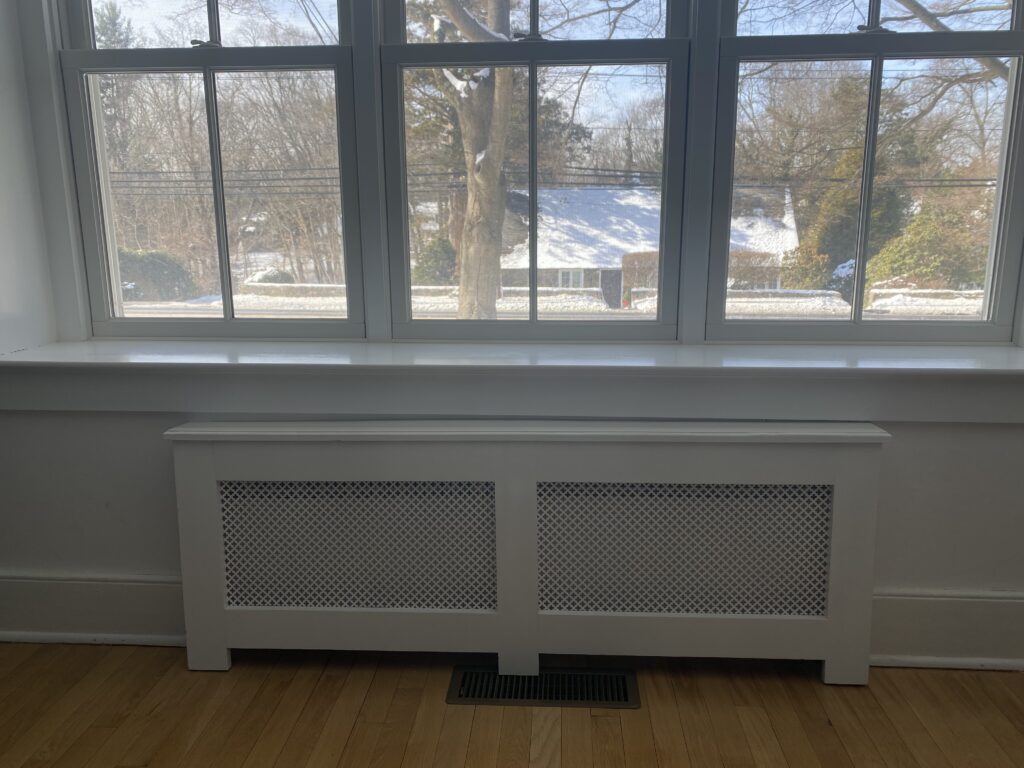
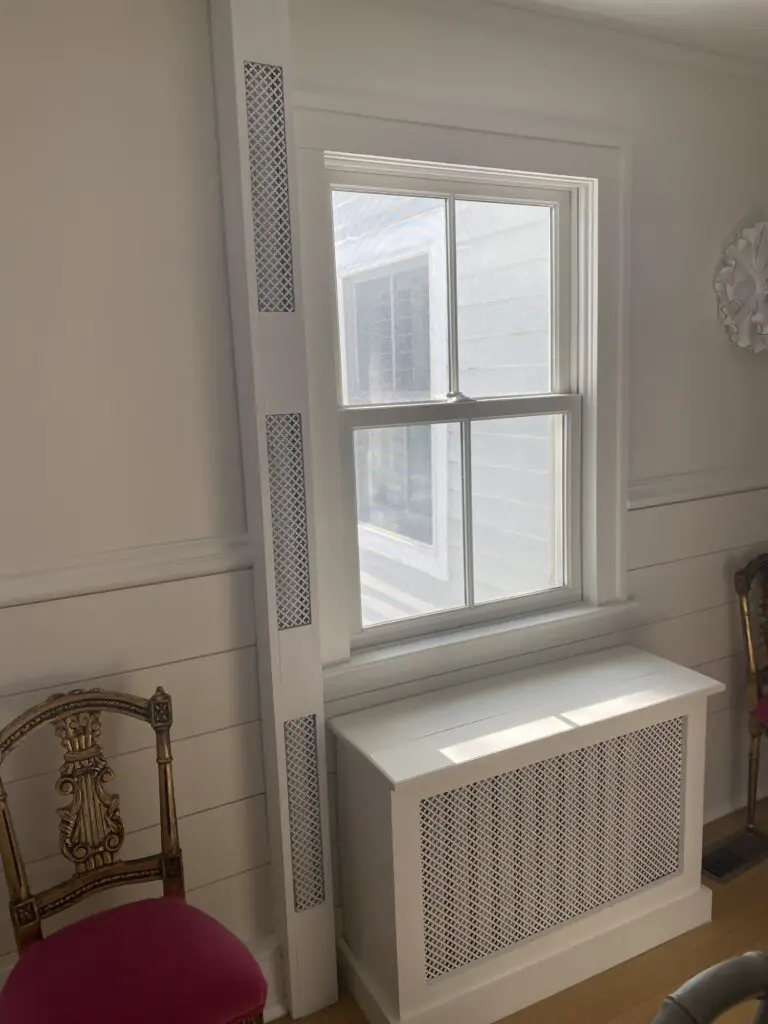
When we started our renovations, our radiators were in horrible shape. In every single room. Dusty, dirty, never saw a sliver of love. They are very heavy, so the idea of taking 20+ radiators out of the house and hosing them down seemed like quite the hurdle. So, we cleaned each up in its respective room. Once we moved in (and were still “completing” our renovations) we decided it would be best to decoratively cover the radiators that weren’t already covered. There were many reasons for this decision, but the main idea was that we didn’t want our youngest daughter (who was still a toddler at the time) to bump her bum into a hot, working radiator! We thought about switching up the design of the radiator covers based on the room they were going to adorn, but because we were so overwhelmed and needed to bang through this part of our “to-do” list, we chose to keep them as consistent and simple as possible. We don’t regret this decision and love the consistency of the design. We couldn’t decorate and “finish” our home in one pop, so now when we go in to finish off a room, the white radiator covers and simple white walls give us a clean slate to start our design process. (Side note, in some houses and in the right rooms, incorporating a cool-designed radiator cover could be super fun. Or even painting the cover a different color? We usually like to switch up the design and break up consistency when the space calls for it. Ours did not.).
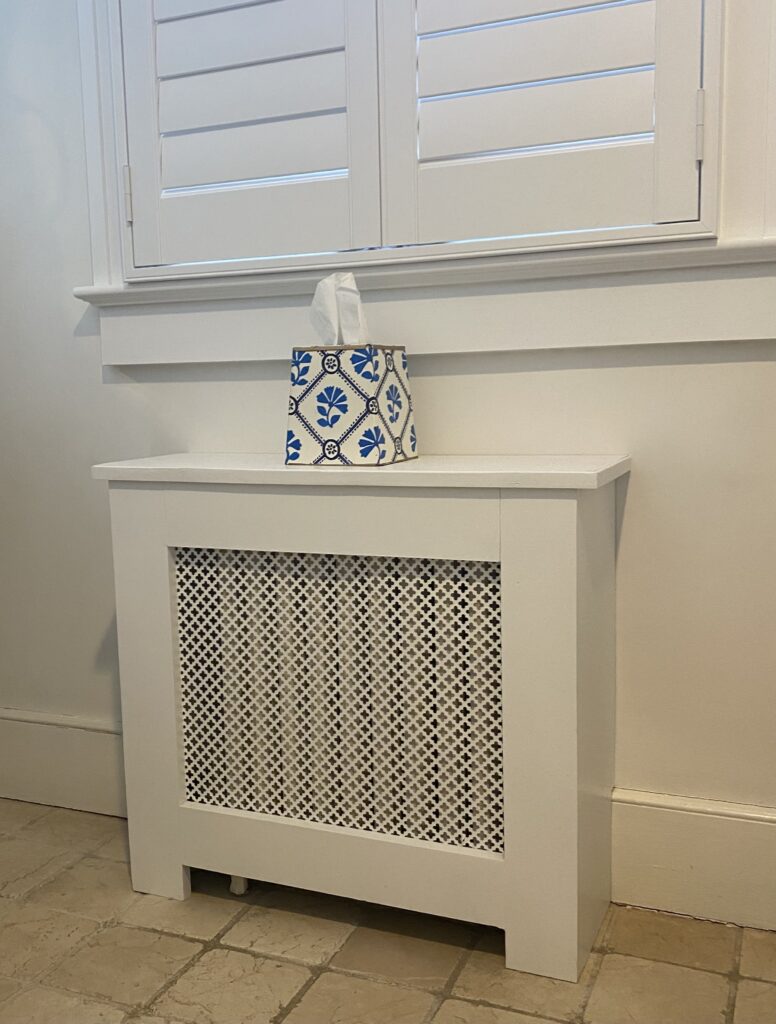
My husband took on the task of building each cover. We measured each radiator and then measured the size that would make the most sense for a cover. Around some of our radiators we chose to go a bit bigger with the cover because of how it completed the area. With most, however, we chose to make them as small as possible (while staying safe and sensible so that the steam would actually be able to fill the room well enough with heat and not block it). In some of the rooms we replaced the radiators by switching them out for smaller models (found inexpensively via Craig’s List). For instance, one of our daughters’ room is tiny so we knew that a smaller radiator would still heat the room well and we were desperate for more square footage in order to fit her bed, dresser, etc.
Our family room posed a big issue. In one half of the room we had to raise the floor up in order for it to match the other half of the room (making it seamless with no step-down). Because of this, the radiators that were on the new flooring (3 of them, yikes) would either mess up our newly laid flooring or block part of the windows we’d installed. These 3 windows are in the front of our home and we don’t like when things are visible from the outside (or that block the view from the inside looking out), so this was a must fix. We chose to cut the new flooring just enough to sink the radiators just enough. A lot of work, a lot of stress, but in the end, we are so happy we stuck it out! Now our family room has what it needs both from form and function perspectives.
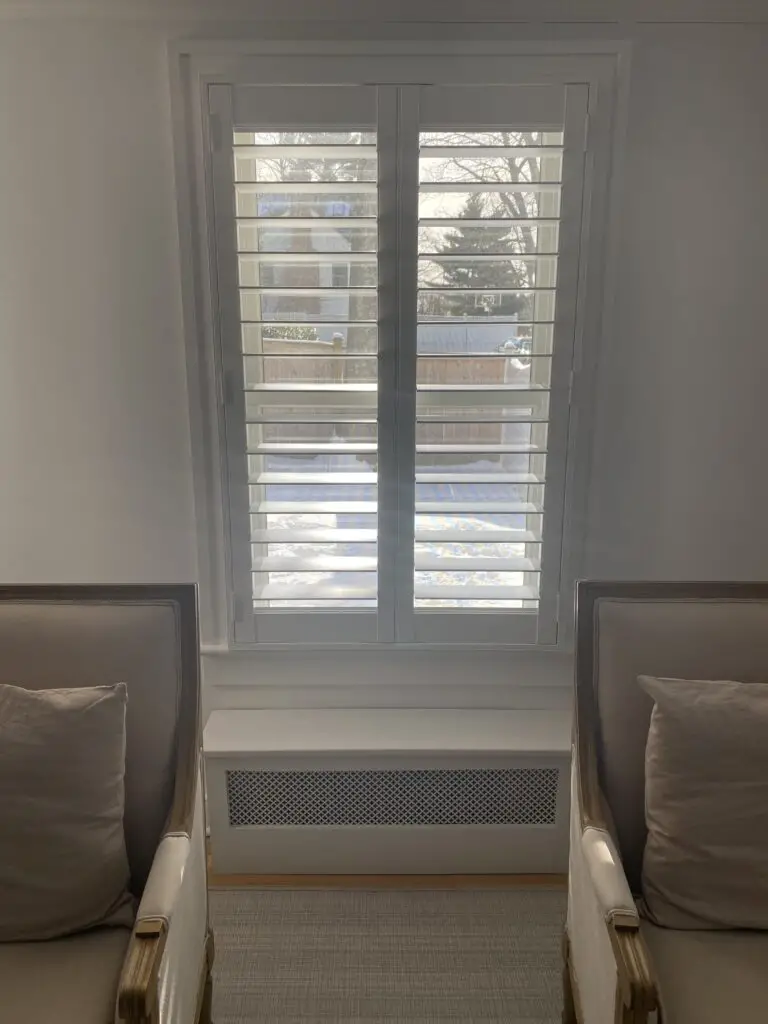
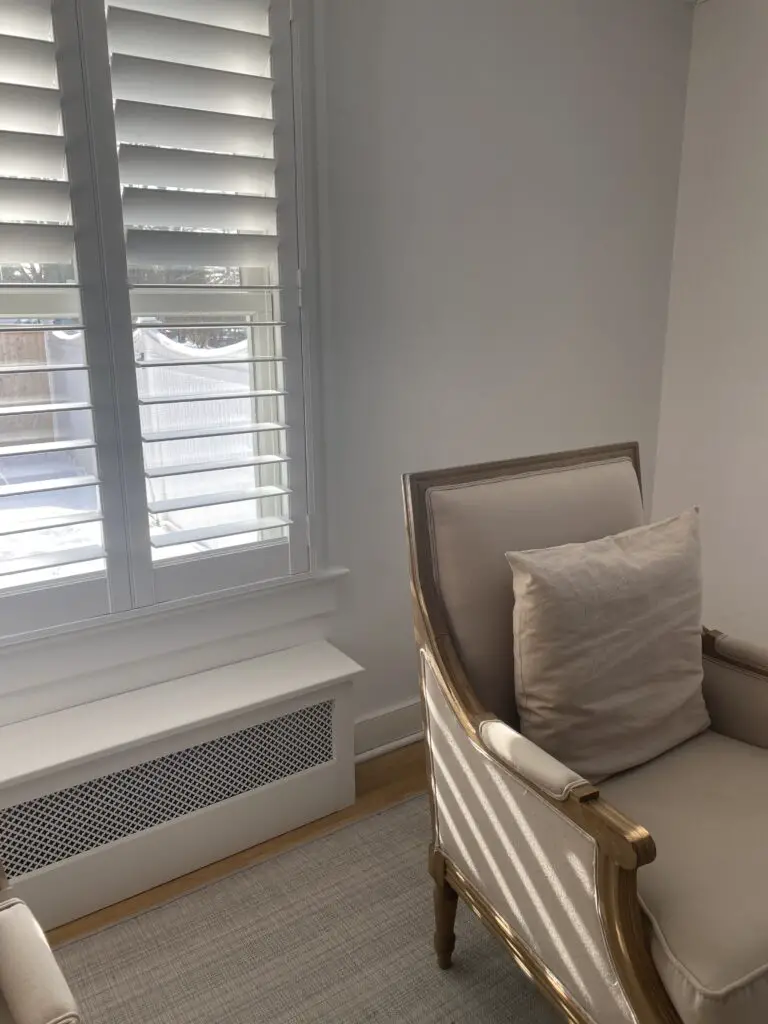
Radiators typically have to be close to a window. The good news is that you can gain a great window seat option that would also keep you cozy while reading a book on that window seat! We are about to embark on this design version for a study and our oldest daughter’s bedroom reno. Designing the covers was easy. We did research on different designs and went with more of a Scandinavian style for the wood framing. Simple, clean. We chose to expose as much of the screen design as possible. In part because it would allow more heat to escape the radiator cover, but also because we liked incorporating the style of the screens into our spaces.
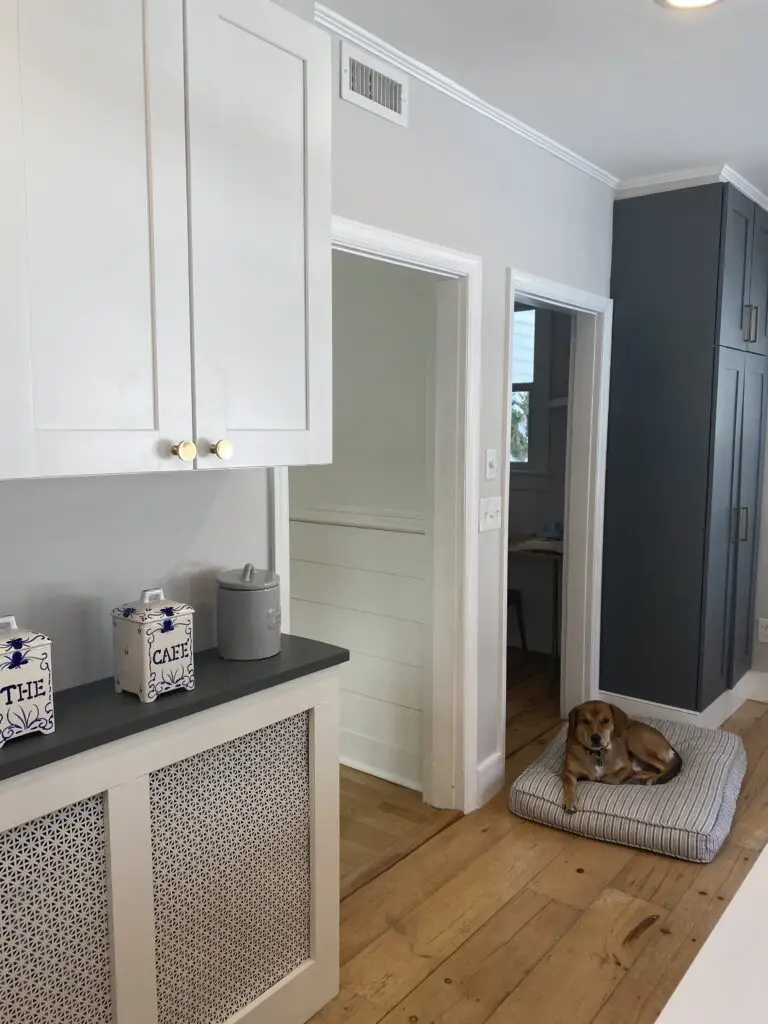
Our kitchen posed its own hurdles. What would have been a bit of much needed cabinet space was taken up by a clunky radiator. The only bad news wasn’t that we couldn’t use the real estate for more storage, but that we had to be careful what countertop we chose for the top of the radiator cover. We could not include a stone countertop in that spot because we have to be able to move it should we need access to service the radiator itself. So, matching the countertop with the rest of the kitchen was out of the question. Also, we had to think through what we would decoratively place on top of that space because of the heat pumping out from below. We chose to go with a removable wooden top and painted it to match the color of our pantry. We had it painted with a sprayer rather than a brush and used a matte finish for durability, practicality and a smoother touch.
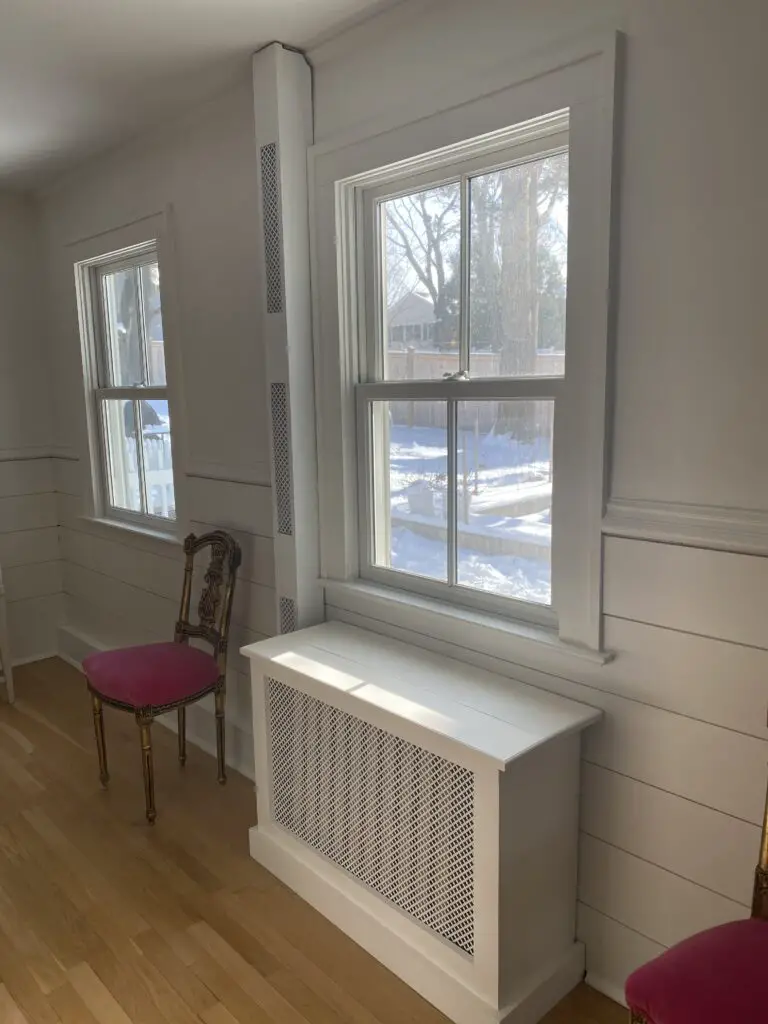
One other piece of the radiator steam heat to consider building into the décor is the exposed steam pipes. We have two exposed on our first floor that assist a few of our second-floor radiators. Consider boxing in those pipes that are not imbedded and hidden in the walls. The two pipes that were exposed are in very visible places. One is in our dining room, so having our dining guests look at ugly water pipes got to bug us over time. The other is in our mudroom – another very visible place. People were constantly burning themselves because they would hold on to the pipe to put their shoes on, etc. It started to become a real problem so we boxed that pipe in as well.
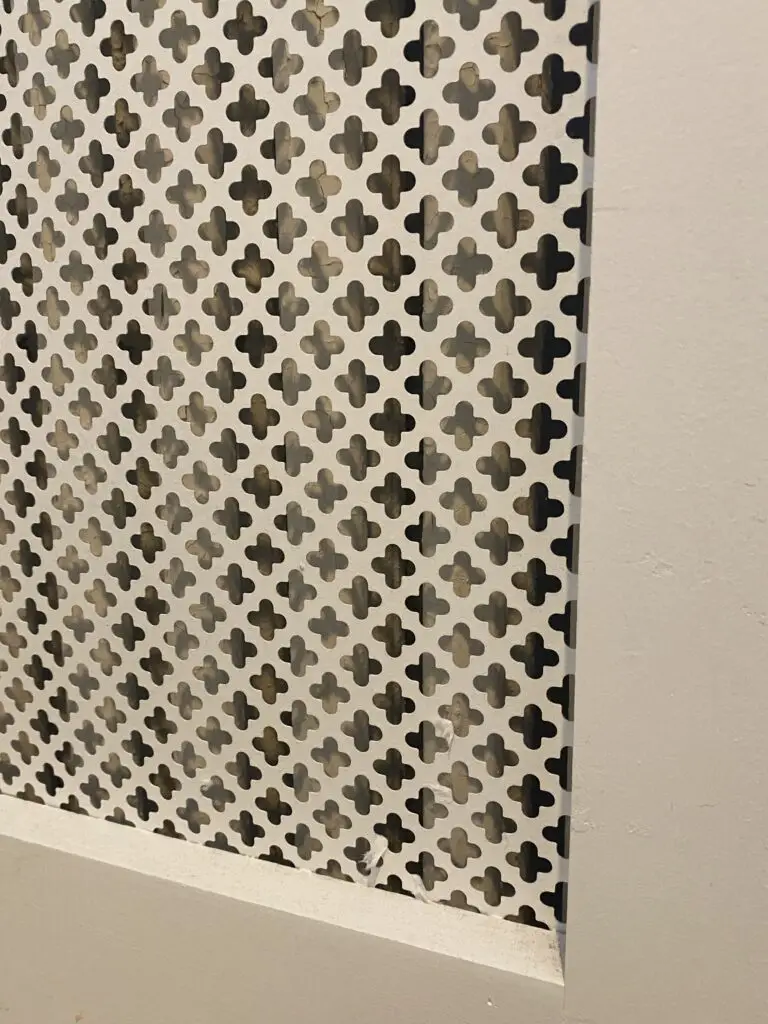
We have two new house projects in the pipeline where we will be playing with the radiator designs in each of those rooms, so keep it here. We’ll share as they get closer to completion! There are so many different variations and designs for both the actual radiator covers and the screens. It is fun to pick and choose for each setting. Whichever design you choose, I hope you stay cozy and warm!
*Another tip to save on energy is to insulate your radiator pipes that are stored in your basement.

